
I am excited to share with you about the fat quarter friendly scrappy version of the Letters Quilt!
“Letters” comes in two sizes (baby and throw) and two colorways (ombré and scrappy). I wrote all about the ombré version here.
Letters is beginner and fat quarter friendly! It also includes a few bonus projects, which I’ll tell you more about below! The scrappy version does not automatically make extra blocks like the ombré version does, but you can easily make a few extra if you want a matching pillow or wall hanging.
Letters: About the Quilt Design
My exchange of handwritten letters with my grandma throughout my life inspired the design of this quilt. I shared more about the design here.
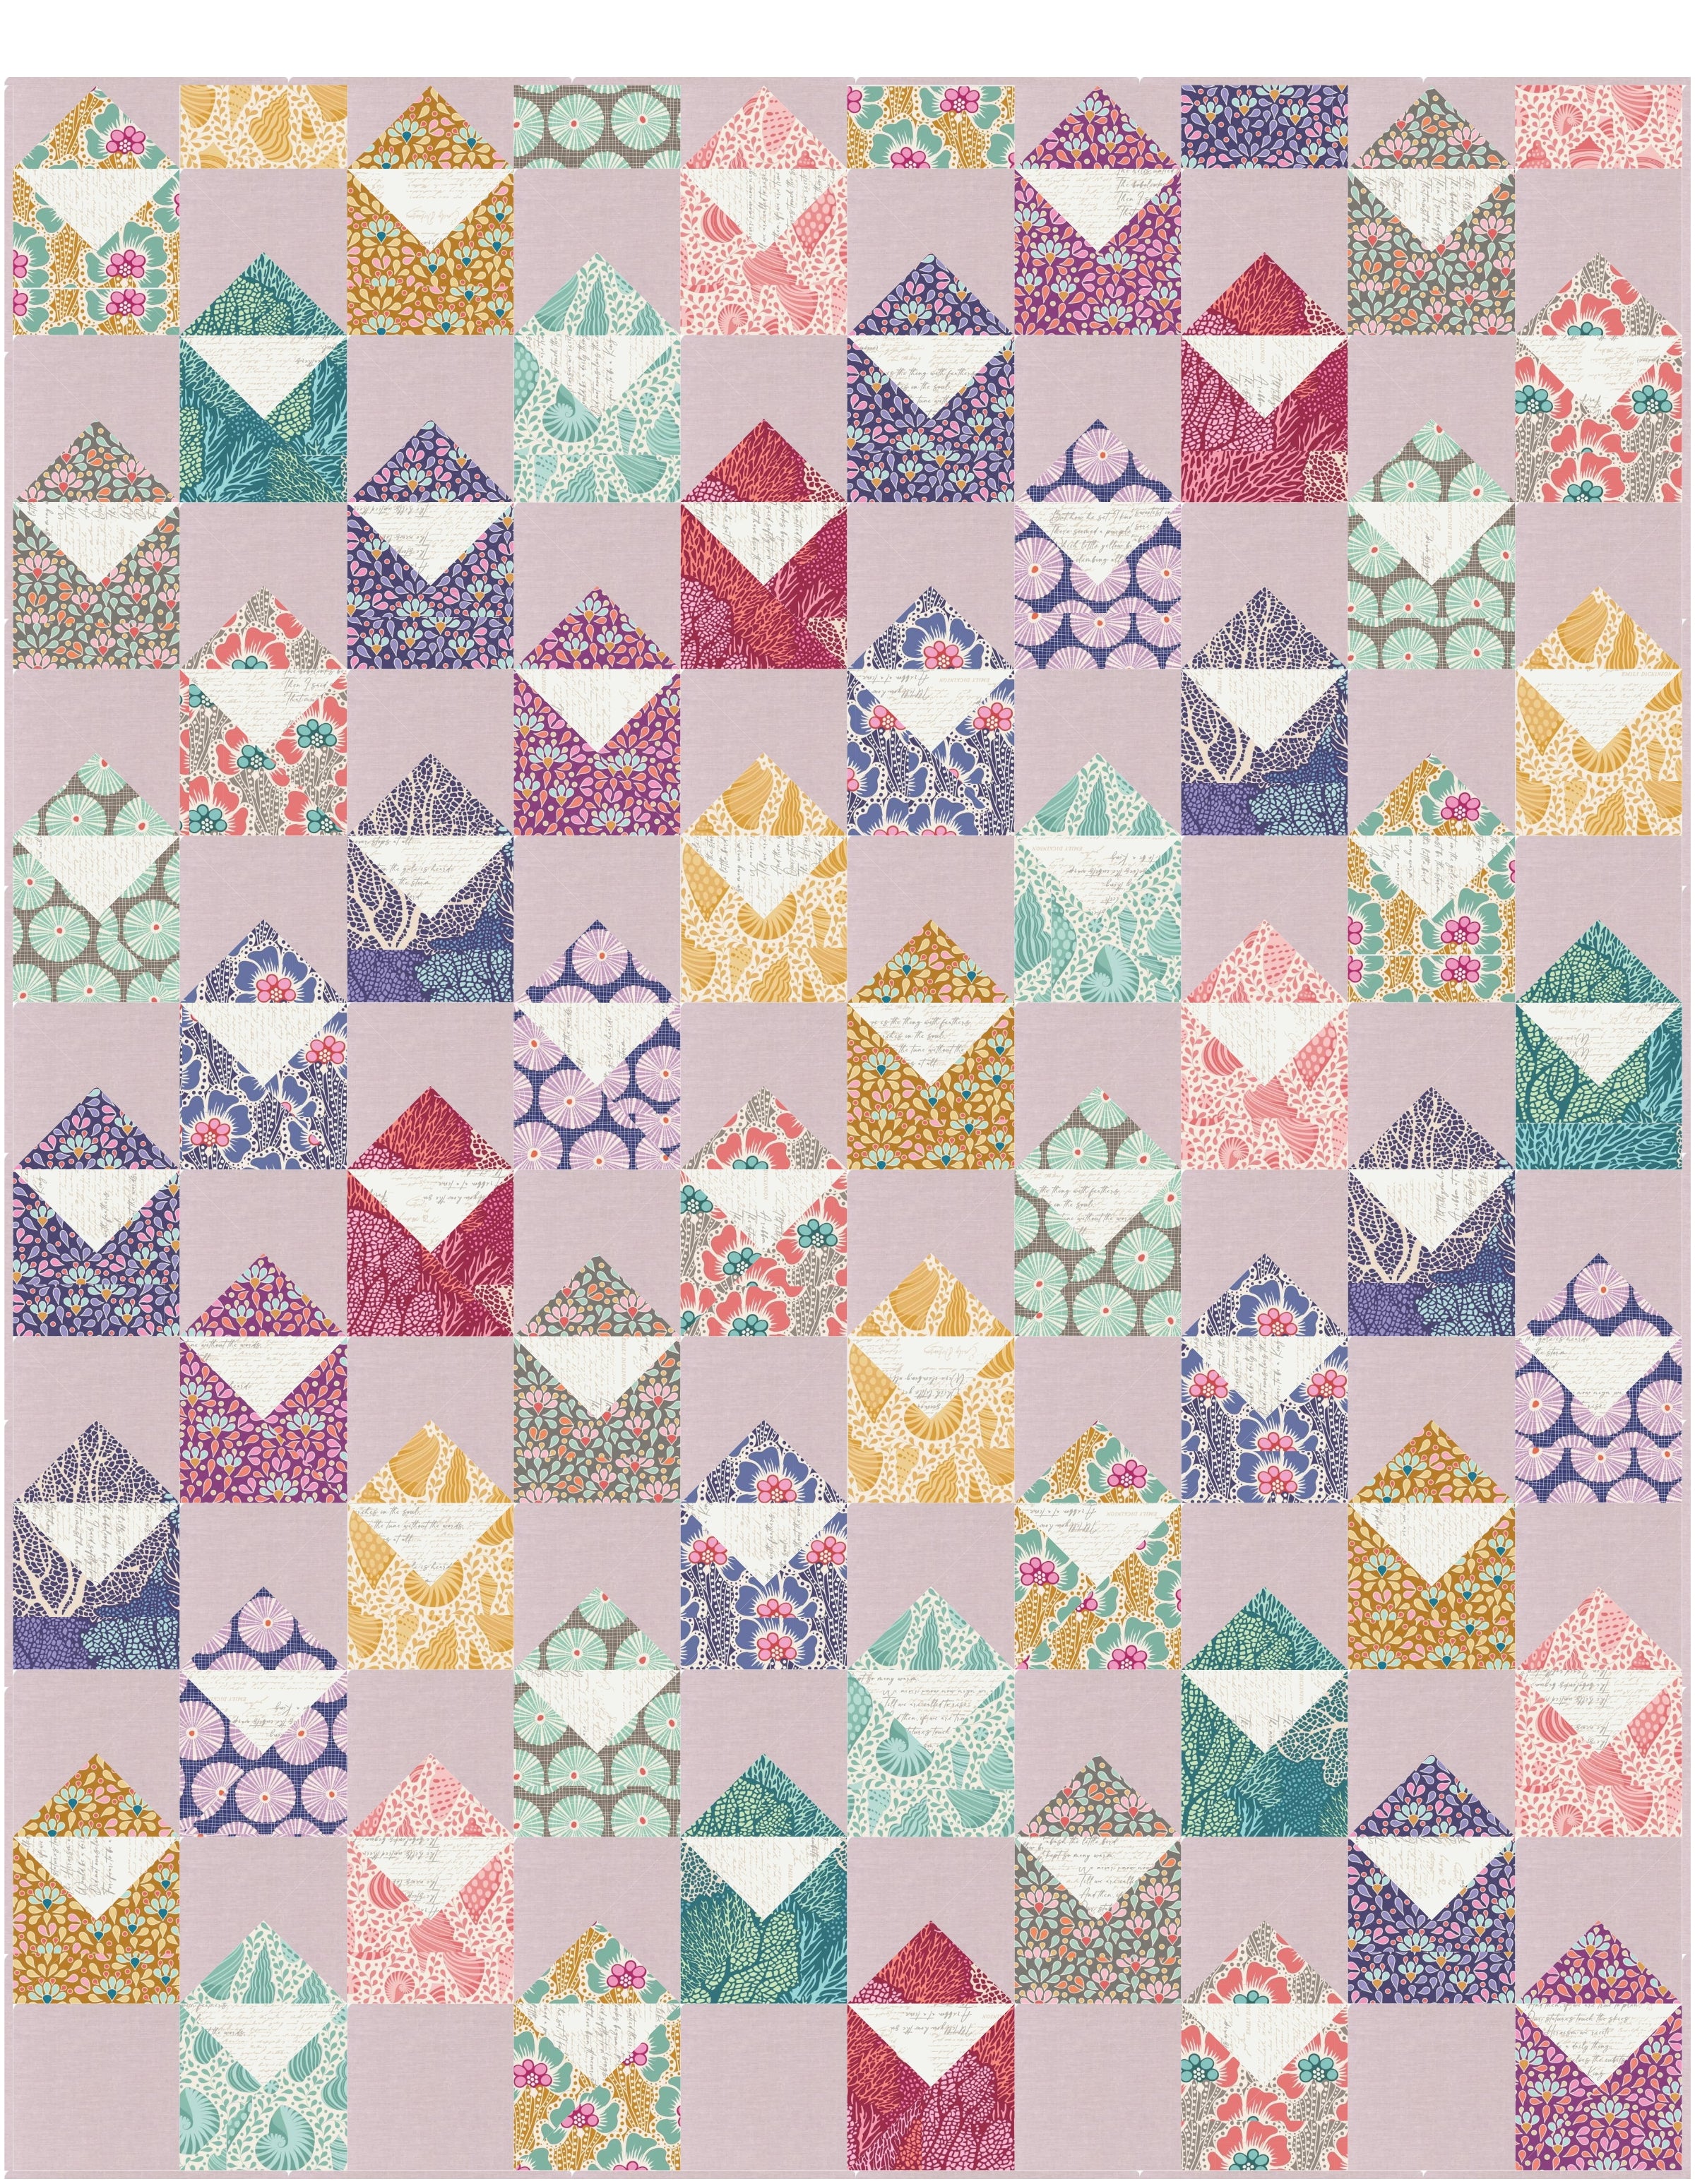
The ombré version is very neat and tidy, for those of you that want to keep it clean, but I also love the scrappy version that looks much more like my stack of collected letters.
This pattern is a great stash buster. If you have a bundle of coordinating fat quarters you’ve been holding on to, even better!
Many mamas have scattered and short bursts of time to sew. This pattern is easy to set down and come back to later without getting lost in a list of complicated steps. It’s fast and efficient, but doesn’t give up a shred of beauty. This pattern is for you. No matter how busy your season of life, you can make Letters!

Creating Letters: Choose Your Size and Colorway
The baby size is–you guessed it–perfect for babies, but it could also be a pretty wall hanging. The throw is perfect for a cozy couch session.
Color wise, I’ll go through the scrappy version in this post, but I covered the ombré version here. Remember, the scrappy version is fat quarter friendly! You’ll need 10 fat quarters for the baby size and 15 for the throw.
***Note: Letters is beginner friendly—no matter the version or size you choose to make.
***Note: The scappy version does not make extra blocks (as the ombré does), but it’s easy to whip up a few extra if you want to try a bonus project. Just add a bit extra to the fabric requirements when you buy or pull from your stash. Bonus projects are included in the pattern! More on that later…

Scrappy Colorway: Choosing Fabrics
When fabric options and combinations are endless, it can be overwhelming to choose. It’s actually a bit easier with scrappy quilts, I think, because you can include more colors and prints!
With this pattern, what you’ll want to focus on is:
- the contrast between your scrappy envelopes fabrics (fat quarters or stash), your letters fabric (Fabric F), and your background fabric (Fabric G)
AND
- the harmony within the scrappy envelopes fabrics (fat quarters or stash).
Contrast between the background fabric and each of the envelope fabrics is the most important thing in choosing your fabric palette for this quilt. If they are too similar, the envelopes won’t stand out properly. I tend toward a white or very light gray (or other neutral) for the background. A lightly textured chambray would also work. The letters (Fabric F) need to contrast against the envelopes (fat quarters or stash) as well. I also find that a bit of contrast between the letters (F) and background (G) is helpful, but it’s not completely necessary.
The letters (Fabric F) are your opportunity to have a little fun and to choose something unique in this pattern! A white on white print could add a subtle hint of suggested writing to your letters. There are also many prints that literally look like handwritten letters by featuring cursive scripts or typewriter fonts.
One word of warning if you use prints: directional fabrics are NOT recommended. The piecing method causes the triangles’ positions to turn 90, 180, and -90 degrees as you make the blocks, so they face different directions.
Trust me: if you choose a print, make sure it looks just as good when turned sideways and upside down. All over Xs or plus signs or dots would work great for the letters (Fabric F)! But, never say never–you can get away with a directional print if it’s abstract enough, but if it’s got a face with a clear top and bottom, it will be noticeable when it’s turned multiple directions. You may not mind the twisting and turning of your prints, but I want you to be aware.

My scrappy quilt uses the Gingiber “Words to Live By” fat quarter bundle. I used two white on white prints from the bundle for the letters, and I used Kona "Silver" for the background.
When arranging the envelope blocks, use the assembly diagrams in the pattern to help randomize block placement and keep similar blocks apart.
Lori from The Grey Finch Company has created a great kit for the scrappy throw! It’s a summery collection of Tilda’s Cotton Beach fabric line. The kit is called “Message in a Bottle” and features a bundle of Cotton Beach fat quarters, a Tilda chambray background, and Art Gallery Fabric’s Poetic Manuscripts for the letters–a beautiful hand script print.
Scrappy Colorway: Fabric Requirements
Here’s how much fabric you’ll need to make the scrappy colorway:

The pattern includes a handy cutting diagram for fat quarters. You’ll even have a good piece left over from each fat quarter for another project later.
Creating Letters: Piecing the Blocks
Split quarter square triangles are the best! I mean, they’re magic. You start with a few squares, and then, BOOM! You have four blocks. It amazes me every time! They’re also super friendly to chain piecing. Just group your squares together, stack, and sew away!
Because split quarter square triangles make four blocks at a time, you will be shocked at how fast you finish all the blocks. Then, you just need to assemble the blocks into columns and columns into the top!
You may be more familiar with quarter square triangles or hourglass blocks. Split quarter square triangles are made similarly, but result in a slightly different block.
The magic of split quarter square triangle blocks is how a few simple squares become four detailed and perfectly arranged blocks in just a few simple steps!

Creating Letters: Finishing Your Quilt
The pattern includes simple finishing instructions. More detailed binding how-tos will be available here soon. Be sure to sign up for my email list to make sure you hear about new posts!
As a bonus, the pattern also includes a printable fabric label just for the Letters Quilt! You can find instructions for printing quilt labels on fabric using freezer paper here.

Creating Letters: Extra Blocks and Bonus Projects
The ombré color way automatically creates extra blocks, so I created bonus projects that use them. You can still make bonus projects with the scrappy version, you’ll just need to cut and sew extra blocks separately.
Bonus projects include a coordinating throw pillow to pair with your quilt, a wall hanging, table runner, and even individually bound envelope blocks to trade with other quilters or send as cards themselves!

You can also get creative with these extra blocks–use them to create your own designs. I can’t wait to see what you come up with!
Be sure to tag your posts with #SWMLetters so I can see what you come up with!
Creating Letters: Make It Yours!
Ultimately, every quilt pattern is a guide, and you get to choose whether to follow it to the letter (pun intended!) or make your own adjustments.
I hope Letters helps you get your creative juices flowing! I would absolutely love to see your fabric pulls, blocks, and quilts on Instagram! Tag your posts with #SWMLetters so I can see all your lovely makes!
You can read all about the ombré color way here.

Are you ready to make this simple yet beautiful quilt pattern?
Get extra tips, tricks, photos, and videos to help you as you sew by signing up for the Self-Paced Letters Quilt Along HERE. You'll get 6 weeks of quilt along content condensed into a single email!
P.S. Don't you just love a shot of the back of a quilt that looks like stained glass? Me, too!

