
Do you have orphan quilt blocks laying around? Sometimes I just want to try out a pattern, or learn a new technique, but I don’t end up making more than one block.
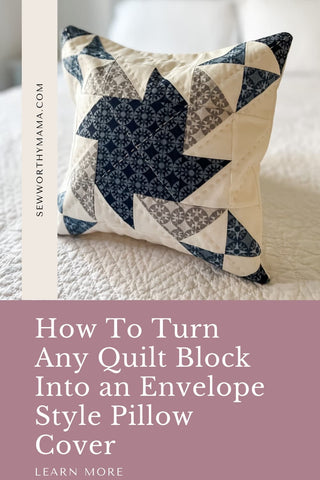
Any single quilt block can be easily turned into a throw pillow case and put to better use than just sitting in your cabinet or WIP pile!
Here are simple instructions for turning any quilt block into a throw pillowcase with a simple envelope enclosure-no hardware necessary.
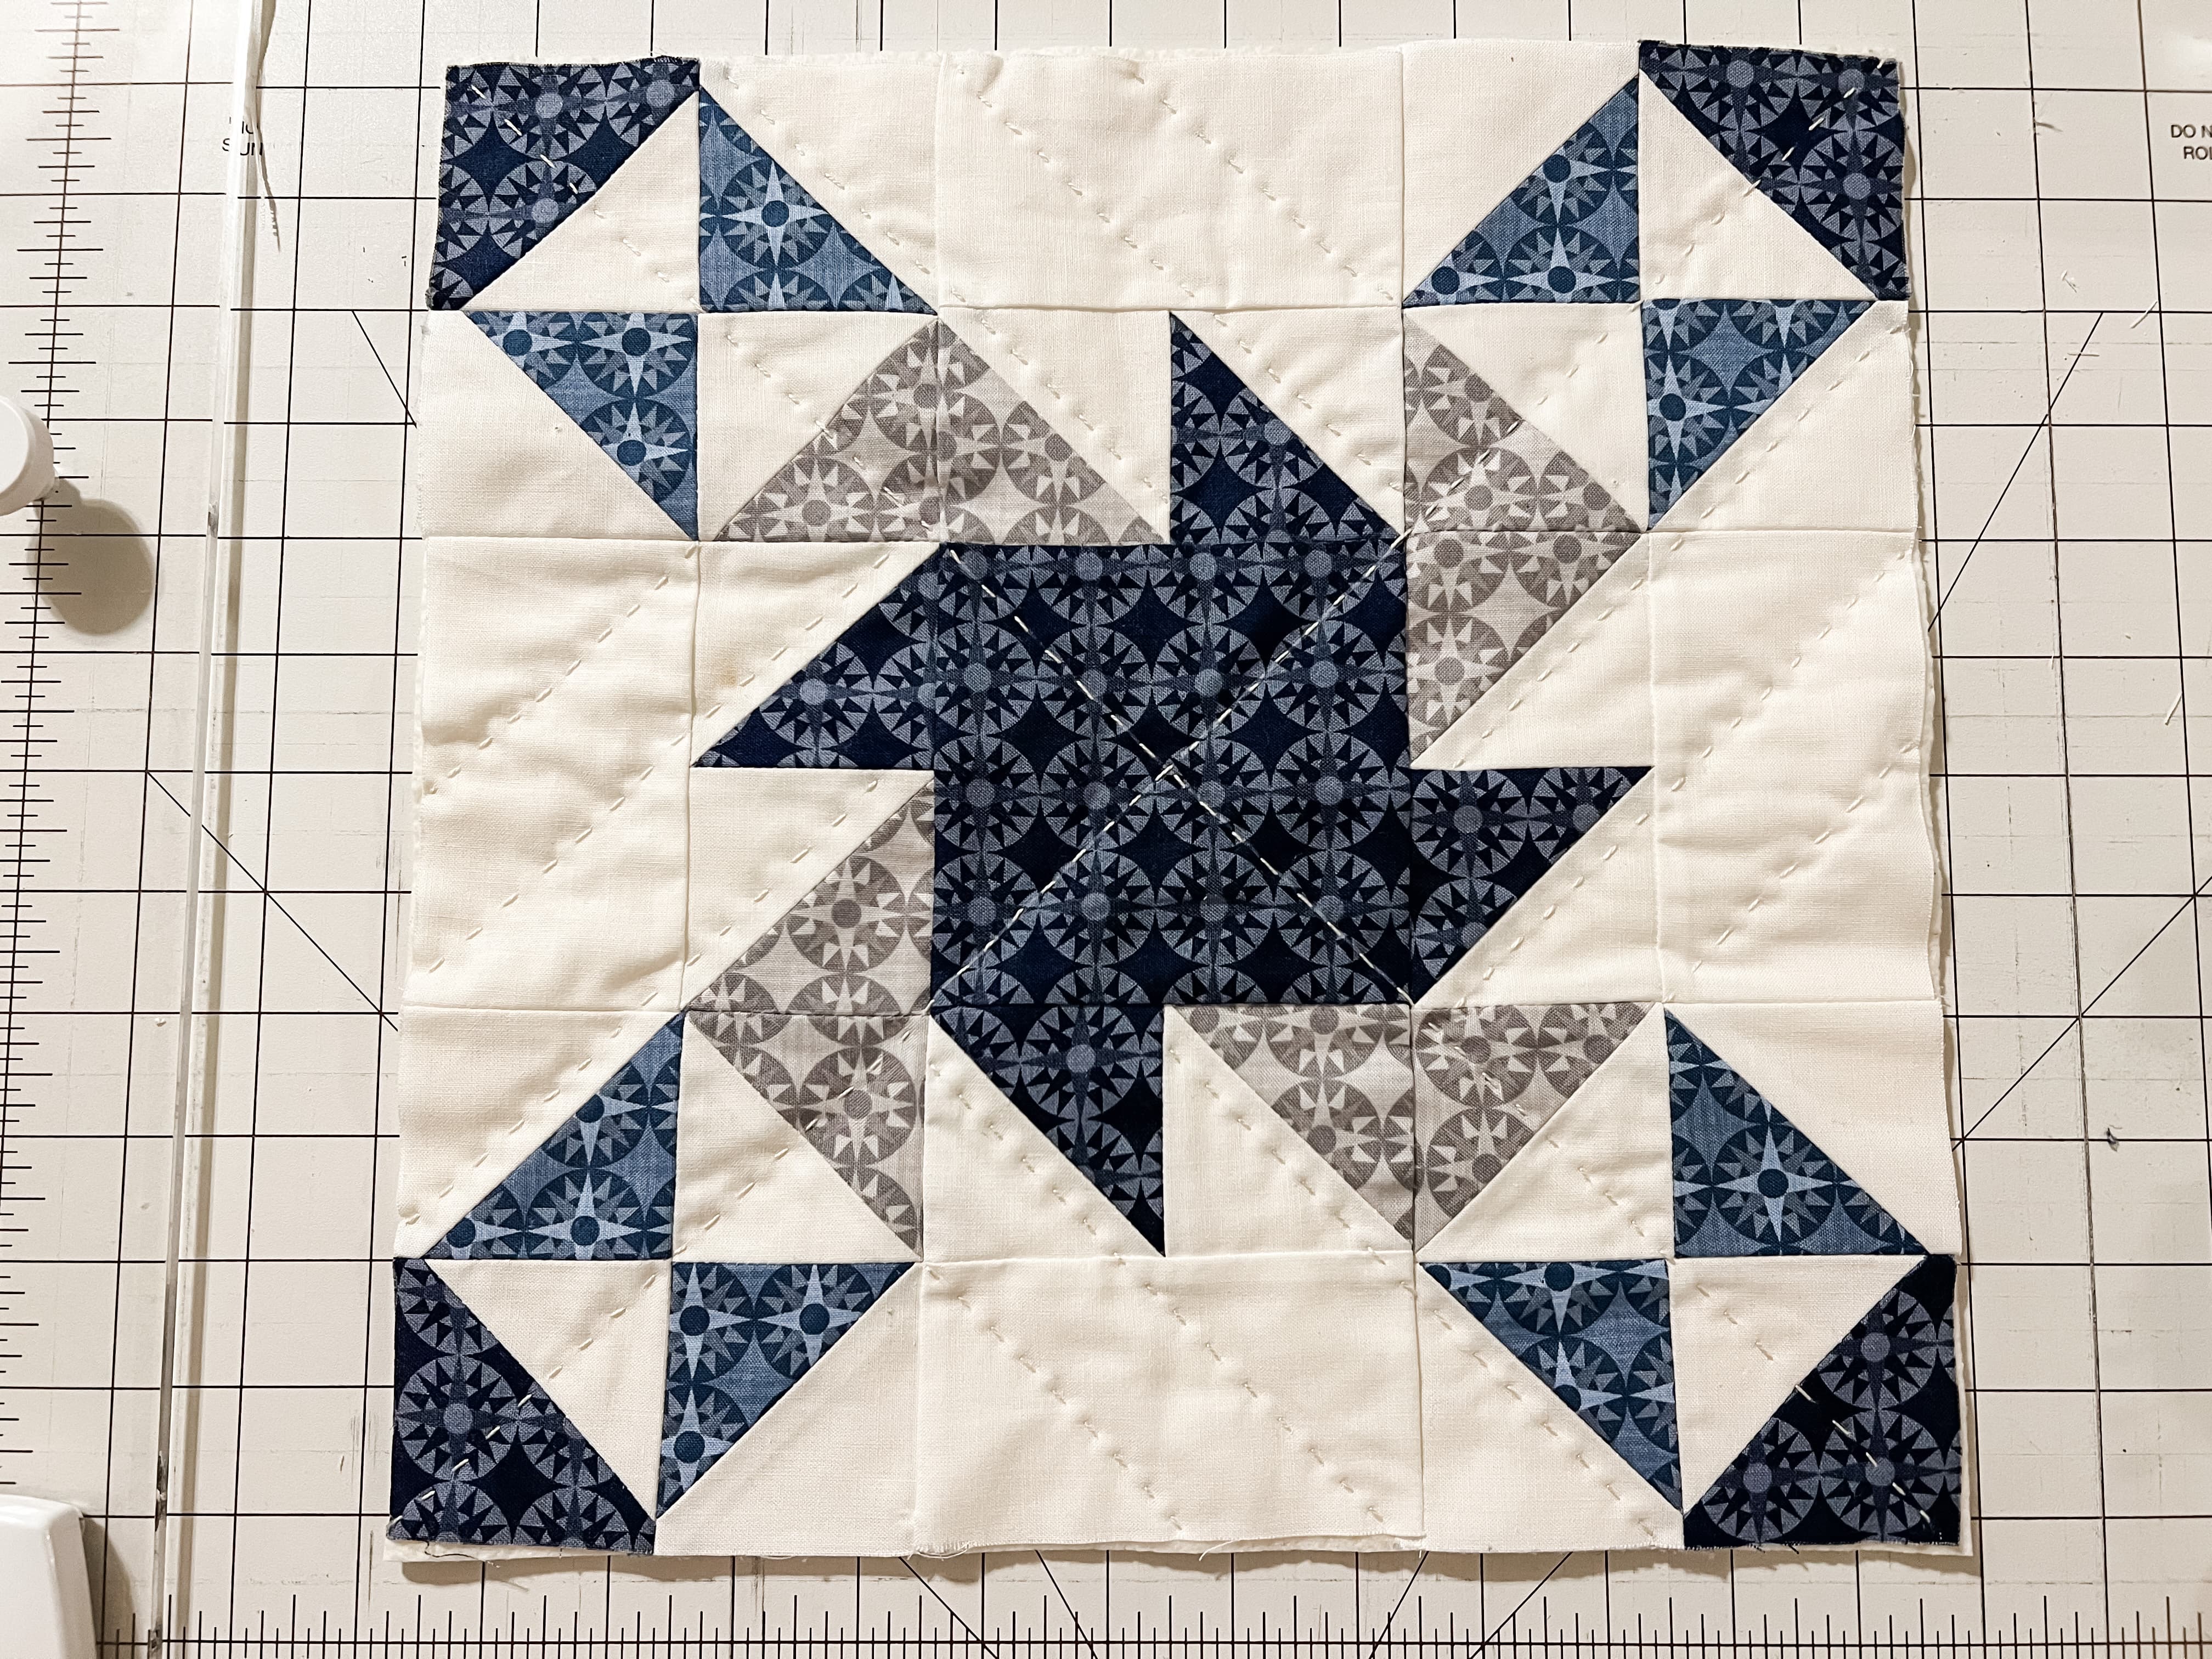
Prepare the Block:

- Layer the quilt block as you would a quilt top: backing wrong side up, then batting, then quilt block right side up. (Tip: Use an inexpensive muslin for the backing in this step as it will not be seen.)
- Pin or spray baste as desired.
- Quilt as desired.
- Trim and square any excess batting and backing to the size of the quilt block.
Create the Envelope Style Enclosure:

- Cut 2 rectangles for the envelope back of the pillow case. The width should be the same as the width of the quilted block (the unfinished size). The height should be half the height of the unfinished quilted block plus 3-4”. I recommend 3” for smaller pillows (around 12”) and 4” for larger pillows (18-24+”).
- Fold one side of each rectangle under ½” along the width and press. Fold under another ½” and press. Stitch the hem down on each rectangle. (Tip: This is one of those rare places a decorative stitch would look nice if you have any on your machine!)

Finish the Pillow
From here, you have 2 options. You can either stitch your top and back directly together and turn inside out (faster option), or you can attach the top and back by applying binding to the edges (prettier option) to finish as you would a quilt.
Faster Option:


- Place quilted block right side up, and layer each rectangle on top, right side down, finished edges toward the center, aligning raw edges and allowing the rectangles to overlap.
- Stitch a ¼” inch seam all the way around the pillow. There is no need to leave an opening to turn.
- Turn right side out through the opening where the rectangles overlap.
- Insert pillow form through the overlapped opening.
Prettier Option:

- Place quilted block right side down, and layer each rectangle on top, right side up, finished edges toward the center, aligning raw edges and allowing the rectangles to overlap.
- Pin and apply binding around the edges as you would a quilt.
- Insert pillow form through the overlapped opening.
And that’s all there is to it! I hope this helps you put your orphan blocks to good use!
If you would like a FREE 12” block tutorial to turn into a pillow, check out my June’s Pinwheel Block here.

After you turn your pinwheel block into a pillow, check out the June’s Pinwheel Quilt Pattern here. It includes 7 sizes and 2 color ways!
The fabrics shown above (except for the binding method pillow) were generously provided by Tara Reed from her new Winter Barn Quilts Collection for Riley Blake Designs. Ask for them wherever you like to buy Riley Blake fabrics. See more the Winter Barn Quilts and other fabric collections by Tara Reed here.
Pin for later:
2 comments
Hi Susan! I’m so glad this made sense! You can totally do it! :) Let me know if you have any questions.
Thank you for this tutorial. This one made sense to me and I think I can do this.